This document will guide you through the installation the printer in N205/N209 on your Mac
Download the installation file
Please click here to download the installation file.
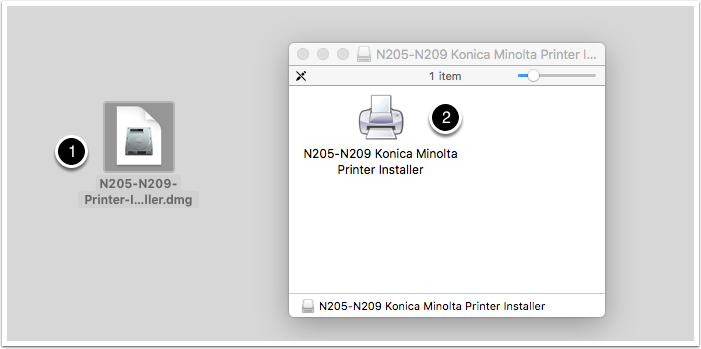
Open the installer and run the installation file
Find the downloaded DMG file (1) and double click to mount the installer file. Double click on the N205-N209 Mac Printer installer (2) to begin the installation
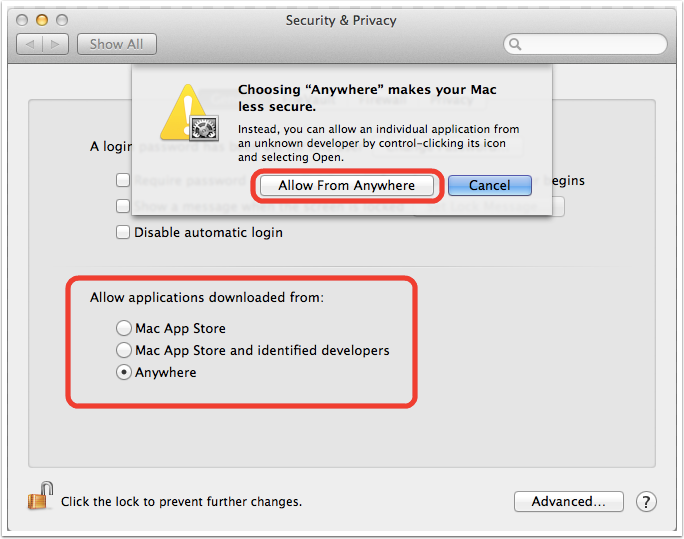
You might receive the following message when you run the installer (Skip this step if no message appears)
If you receive a message that says the instlaler cannot be opened because it is from an unidentified developer you must open System Preferences and click on Security and Privacy and Allow applications download from anywhere. Once the installer is finished you can change these settings back to Mac App Store and identified developers if you are worried about security
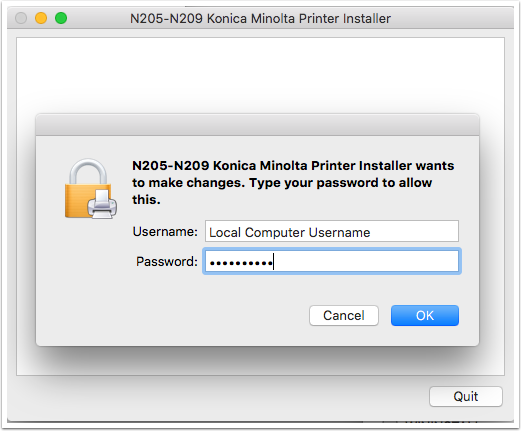
When the installer is run you need to enter your local computer username and password
Enter your local computer username and password when prompted
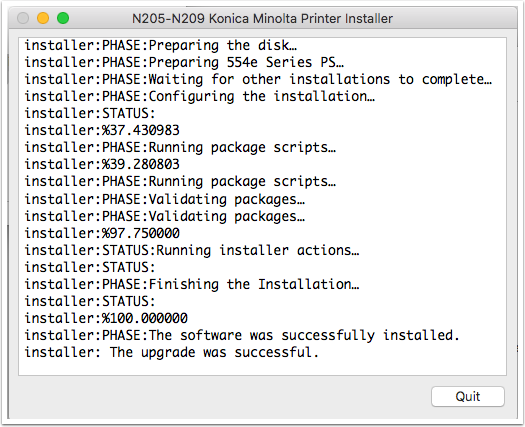
The installer is now installing the necessary files
The installer will install the printer driver and create a printer on your computer called wp-N205-1 and wp-N209-1
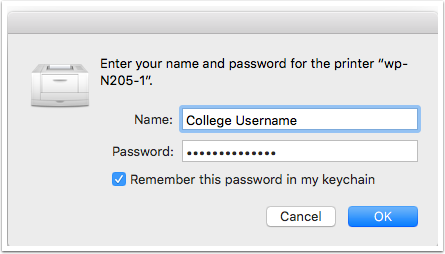
When you print for the first time you will be prompted for your college username and password
The first time you print a document make sure you select wp-N205-1 or wp-N209-1 as the printer in the print dialog box. You will then be asked to enter your college username and password. Click rememeber this password in my keychain