This will describe how to connect to the Multimedia network shares from a Windows machine.
Continue reading Connecting to the Multimedia Shared Network Drives
This will describe how to connect to the Multimedia network shares from a Windows machine.
Continue reading Connecting to the Multimedia Shared Network Drives
This will explain how to connect to the Journalism share (Times drive) on a Windows machine.
Type in the address smb://algshare/journalism and hit connect as shown in the image below.
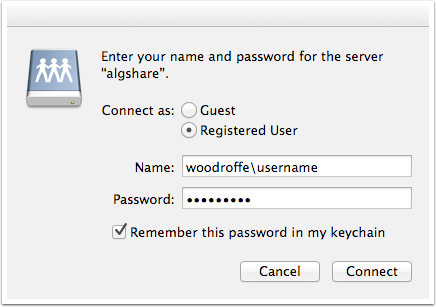
Enter you college username and password as shown in the image. Make sure you use the format of woodroffe\username. Replace username with your college assigned username.
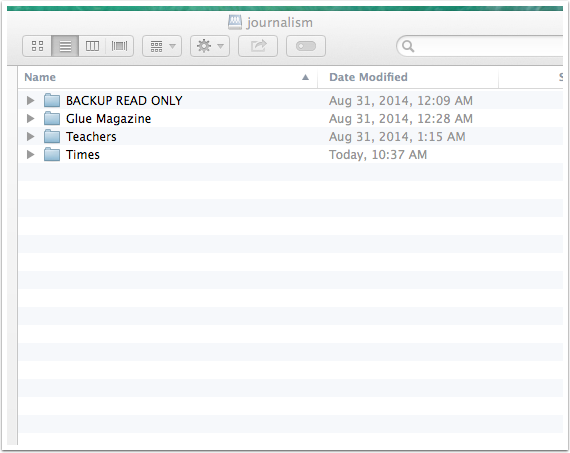
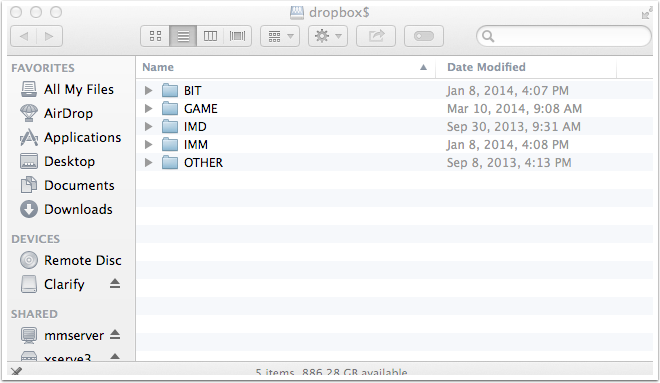
You should now be connected and see a window similar the one shown below.
This will explain how to install the Burli software used in Radio.
From the “Apple” menu select “System Preferences”. In the “System Preferences” window click “Network”
Click the “+” icon at the lower left of the window.
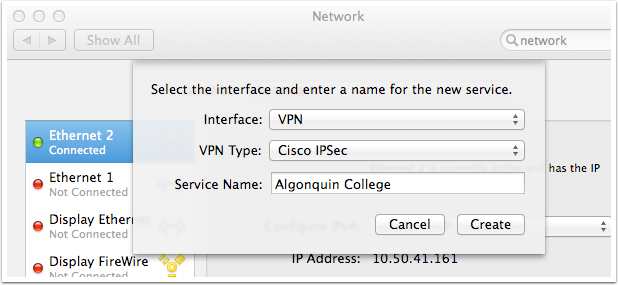
In the new window set these settings “Interface: VPN”, “VPN Type: Cisco IPSec” and “Service Name: Algonquin College”.
Click the “Create” button
Enter these settings for the configuration; “Server Address: vpn.algonquincollege.com”, “Account Name: YOUR ALGONQUIN USER NAME“, “Password: YOUR ALGONQUIN PASSWORD” and set “Show VPN status in menu bar”.
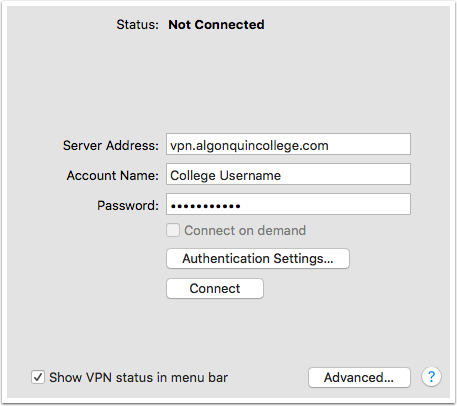
Click the “Authentication Settings” button.
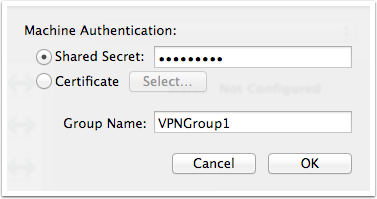
In the “Machine Authentication” window enter these settings; “Shared Secret: VPNGroup1″ and “Group Name: VPNGroup1″ (note: these settings ARE case sensitive).
Click the “OK” button. You can click “Apply” to save your changes, then close the “System Preferences” window.
You should have a new VPN icon in the area beside your clock. To connect to the VPN click the icon then select “Connect Algonquin College”.
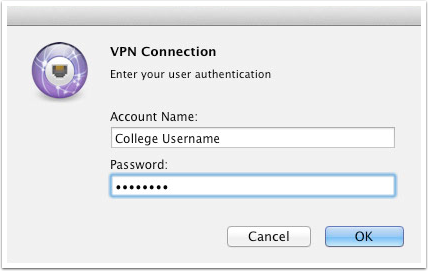
You will likely need to enter your Algonquin password again, “Account Name” should be your Algonquin username and “Password” should be your Algonquin password.
Click “OK” and it should try to connect.
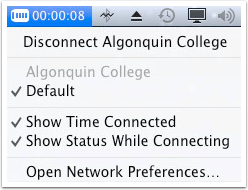
You should see a timer near the VPN icon indicating your connected and the duration of time you have been connected.
TROUBLE SHOOTING:
If it didn’t connect try these;
1) Is the machine on the Internet? Try opening a web page and make sure you are connected.
2) Did you enter the correct username and password? Try logging in to Algonquin’s Secure Server at https://secure.algonquincollege.com. If you can login there than your username and password is correct.
3) If you still have trouble connecting contact ITS at x.5555 or the Media and Design Technicians at x.5009.
To disconnect from the VPN simply click the VPN icon again and select “Disconnect Algonquin College”.
You should disconnect when you are done using Algonquin services because as long as it is connected it is sending ALL of your Internet traffic through Algonquin, possibly slowing down your browsing and using up Algonquin’s bandwidth.
If you are trying this from home you will first need to connect to the VPN. You can use the website http://algvpn.algonquincollege.com.
If you are in the College on a lab computer or a personal laptop you don’t need to worry about the VPN.
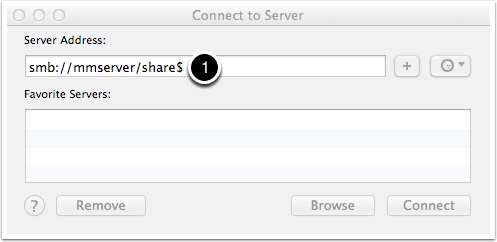
From the finder click the Go Menu and Select Connect to Server
Students Drive smb://mmserver/homedirs$/username (replace username with your college username)
Teachers Drive smb://mmserver/teacherhd$/username (replace username with your college username)
Dropbox Drive smb://mmserver/dropbox$
Public Drive smb://mmserver/public$
Team Drive smb://mmserver/teamdrives$
Resources Drive smb://mmserver/resources$
Common Drive smb://mmserver/common$
NOTE: If you have errors try replacing “mmserver” with “10.78.11.37″ or “mmserver.ottawa.ad.algonquincollege.com”
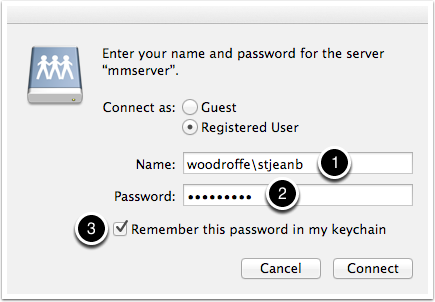
1) Enter your college username as shown. Make sure you enter your username with woodroffe\yourusername
2) Enter your college password.
3) You can choose to remember your password if you don’t want to type it everytime.
How to login and activate your Adobe Creative Cloud applications.
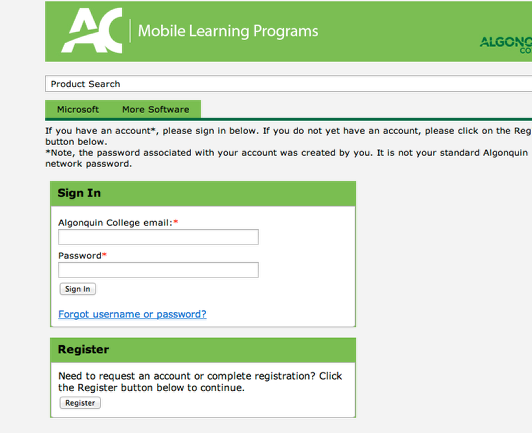
Open any browser and type algonquincollege.onthehub.com. Click register if you haven’t registered yet. If you have already registered then login with your college email and password.
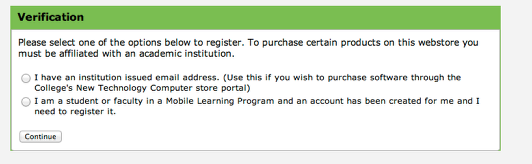
Click that check box that indicates that you are a student and press continue.
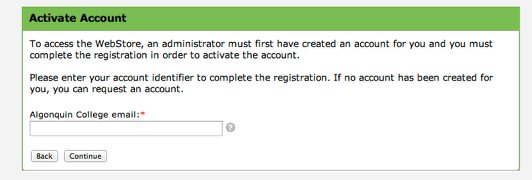
Enter your email address and click continue. You should then receive an email that asks you to confirm. I can’t show that here but you will need to check your email and click on the verification link.

Once completed you should see this screen or something close to it.
Click on the Adobe Creative Cloud link
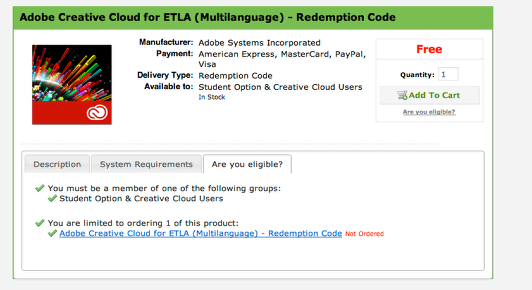
If you want to check to make sure the software is available to you you can click on the “Are you eligible” tab.
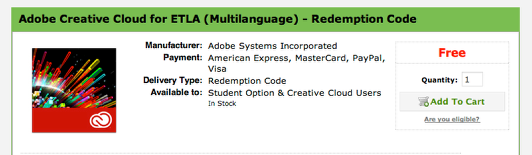
Add the Adobe Creative Cloud to your cart
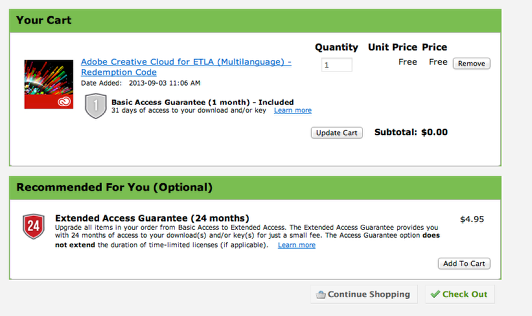
Click the “Check Out” button.

Click the “I accept” button.
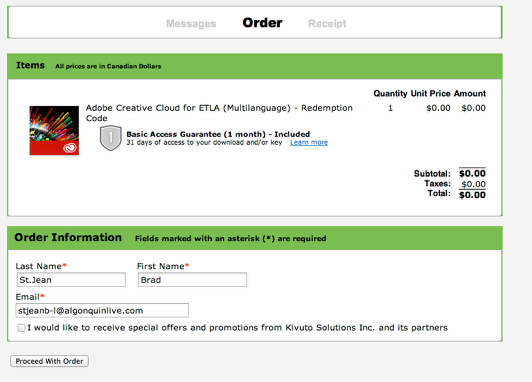
Put your Last Name, First Name and email address into the order info and click “Proceed with order.”
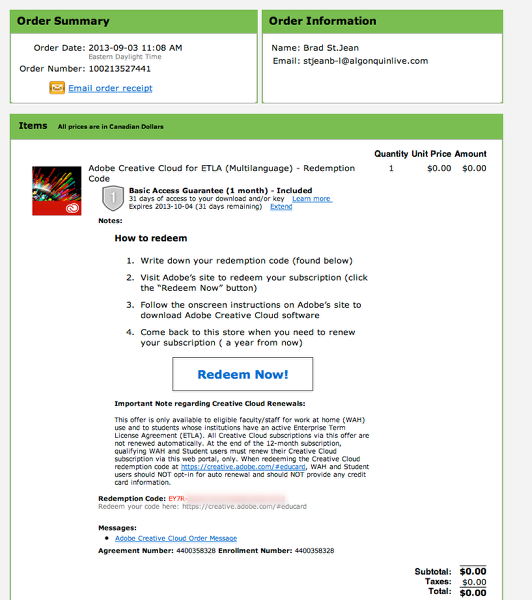
Click on the “redeem now” button to recieve your redemption code. Also you might want to write down your redemption code and copy it to a text file.
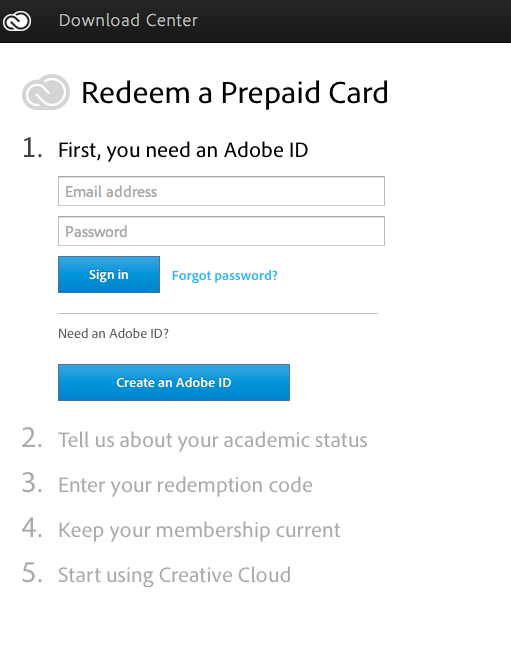
The site https://creative.adobe.com/#educard should open. You will need to create an adobe ID if you don’t have one. If you have one login with that info.
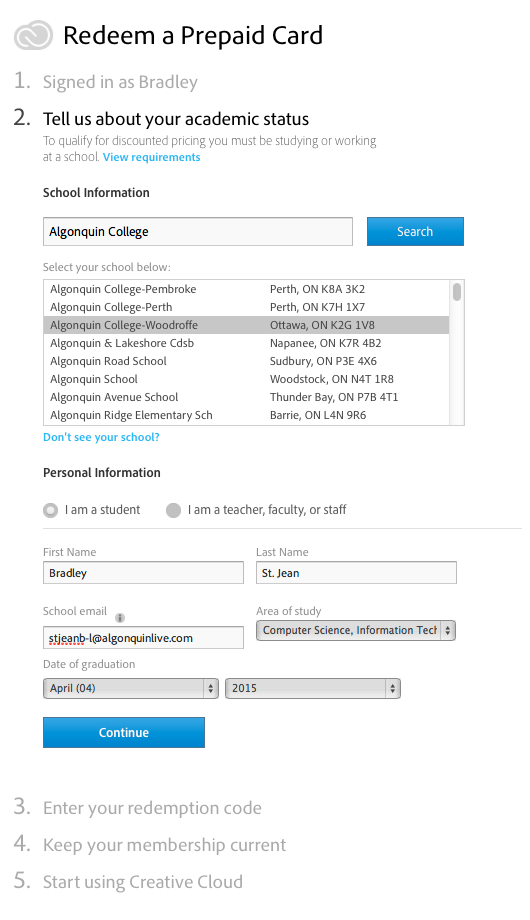
Fill in your info as shown above using your name and email address as well as your date of graduation.
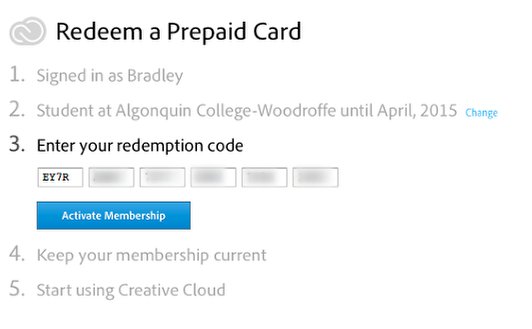
Enter the redemption code that you received in a prior step.
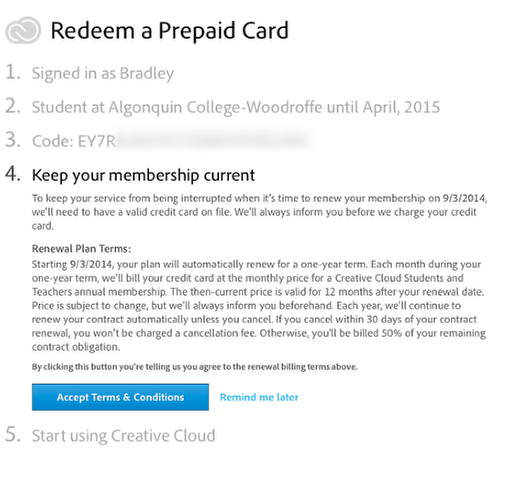
Accept Terms and Conditions.
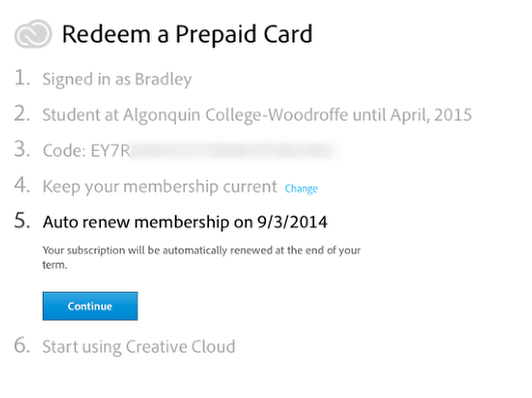
Click “Continue”
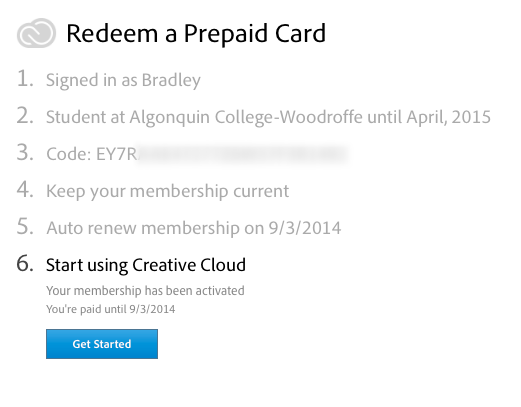
Click “Get Started.”
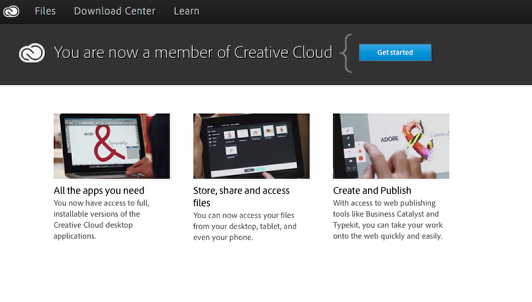
You are now on adobe’s site. You can click on Download Center and start downloading your Adobe Creative Cloud Applications.
Welcome to WordPress. This is your first post. Edit or delete it, then start blogging!