This article will explain how to get a VPN account and download and use the CISCO AnyConnect Client
Obtain a VPN account. This step is mandatory and must be completed before going any further
Students can request VPN access from their Teacher, Coordinator, or Chair. That person then forwards the request to ITS with Course Code, Student Username, Student Number, and a description of what service the student needs to access (N: Drive, Printing, VDI).
ITS will send an email to the student with instructions.
The student then calls the phone number on the email and validates their identity.
ITS will send them their E-Grid card in an email and give them the document password over the phone. They can now connect to VPN.
ITS does monitor the usage of the VPN accounts. If a student has not used it for awhile then the access is revoked and the student must make a new request.
Download the CISCO AnyConnect Cient
Download the Windows VPN Client from HERE. Then run the installer.

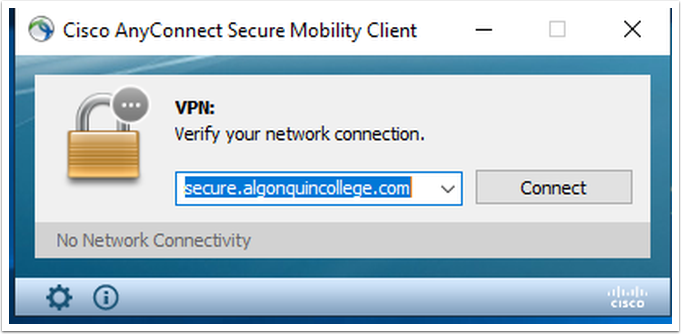
Open the Cisco AnyConnect client fround in your Windows Start Menu
Once open enter secure.algonquincollege.com into the VPN Connection box and click connect

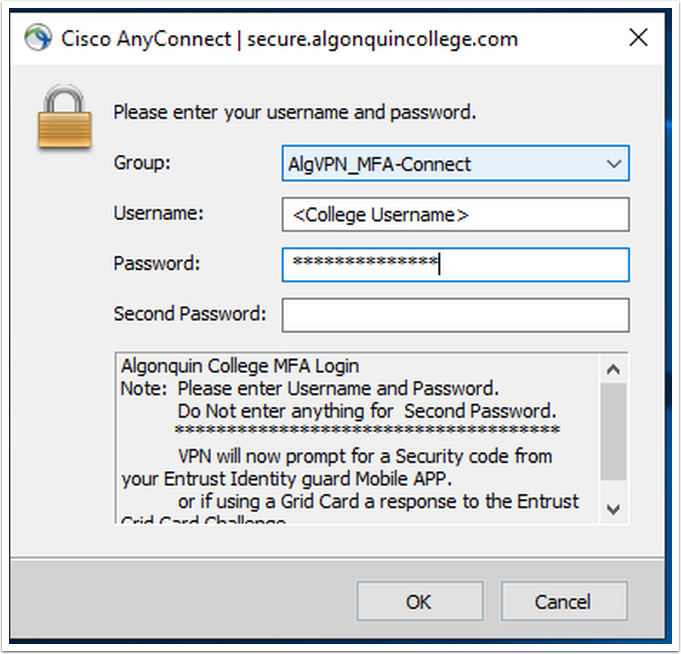
Type in your college username and password
Do Not enter anything for the Second Password

Using your Grid Card enter a response to the grid challenge
The grid card shown is just an example you must enter the response that mactches your card. In this example the answer would be F6C

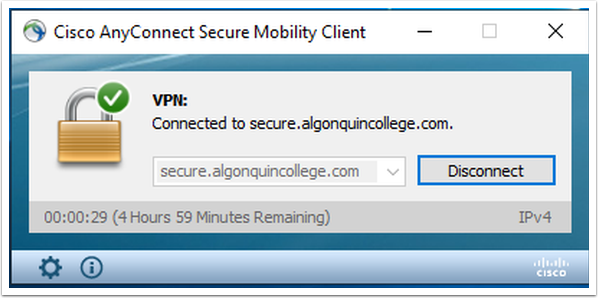
You should now be connected and see a menu item in your top menu bar
