This document will guide you through the installation of the printer in N203 in Windows 10. These instructions should also work for ealier version of windows
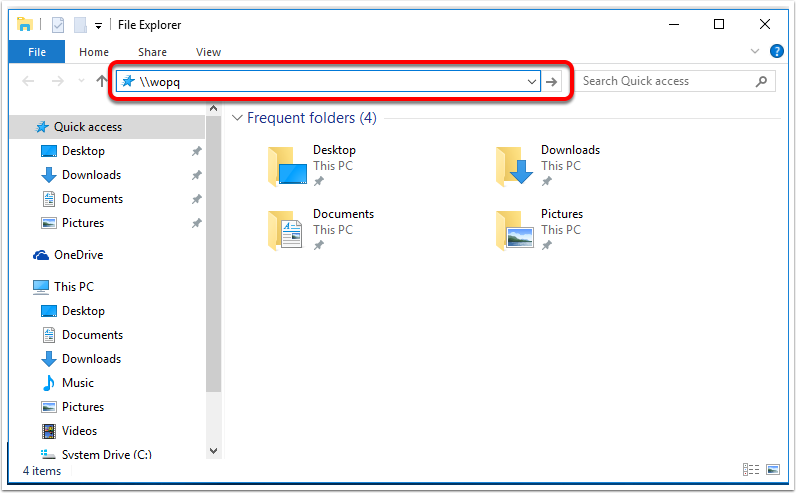
Open up file explorer and type in \\wopq
Search for or open file explorer and type in \\wopq into the address bar as shown below
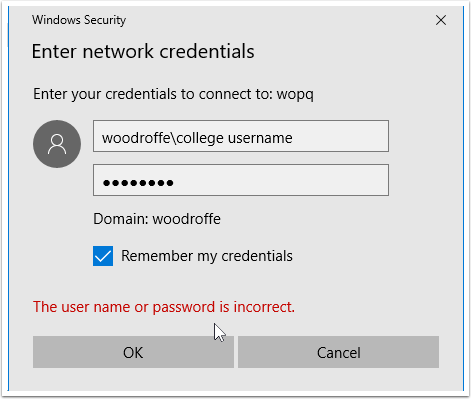
Type in your college username and password then click remember my credentials
Enter in your college username as shown below. Make sure you put woodroffe before your college username. Also click the checkbox to remember my credentials
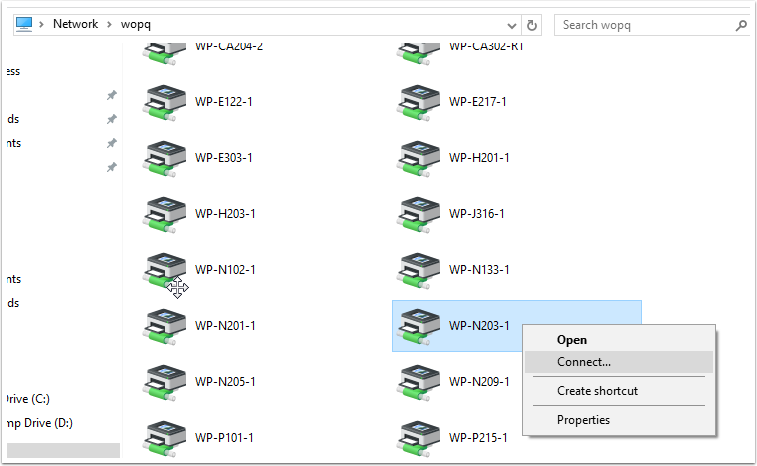
Find WP-N203-1 in the mapped printer list and right click and select connect
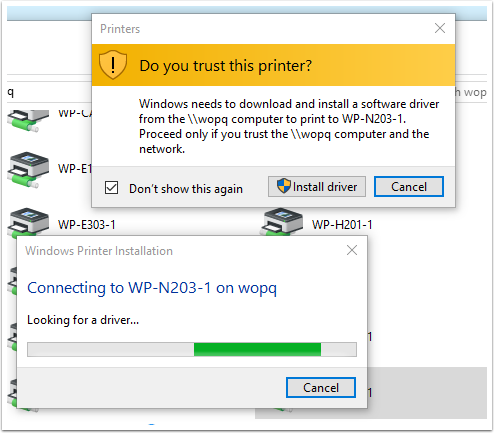
If your asked to trust this printer then click on Install driver
You might be prompted to trust this printer. Click on Install driver to proceed
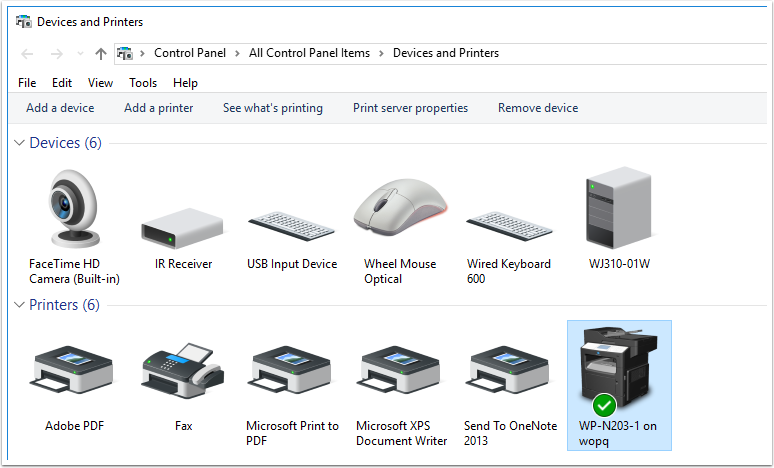
Open or search for Devices and Printers within Control Panel to ensure that the driver is installed
Open Devices and Printers or perform a windows search for it to ensure that the printer installed successfully. You should see the printer in your list as shown below